I'd been contemplating how I could fly to Nashville and attend one of Zach & Jody's workshops for awhile now, but crossing my fingers they'd make a trip to my neck of the woods too. So when they finally announced the Houston workshop - I had my internet browser open and ready to click the registration link a good hour before registration actually opened... not kidding. I'd played with lighting before, but felt like it took way too long and way too much guessing to get me where I wanted to be, and my hope was that the workshop would straighten my brain out and get me results faster and more efficiently.
I learned two things real quick: I like more dramatic lighting shots. And I still like my natural lit images just fine. But my goodness I had no idea I could get such dramatic images with just one light, in a matter of seconds.
The workshop itself went a little something like this:
Intros, classroom instruction (which if you've seen them on creativelive, you likely already had heard), lunch at 2PM (luckily they provided tons of snacks), shoot time, dinner, reception lighting. And when I say shoot time. I mean we shot and we shot and we shot, and we walked and we walked and we walked. I've read reviews on other workshops that seemed cluttered, and I really feel like the shoot time was run very efficiently. Two groups of 6 or so, every single person got to set up a shot, AND shoot what everyone else set up. We were encouraged to change our settings between shots of the same subject to see how it effected our original photo, check our histograms, and study other's shots as well. If you're on instagram, check out the hashtag #incamera to see some behind the scenes images from everyone!
Below, the image on the left used one light, and the image on the right was with all natural light (no reflector). It's hard to determine which one I prefer!
(if viewing on the main page, click read more to see behind the scenes and more lighted & natural shots, and read details about each one!)
Zach setting up the first shot of the day to give us an example of what we'd be doing all day. Be sure to check Zach & Jody's blog to see when he posts his final images (as we didnt shoot those).
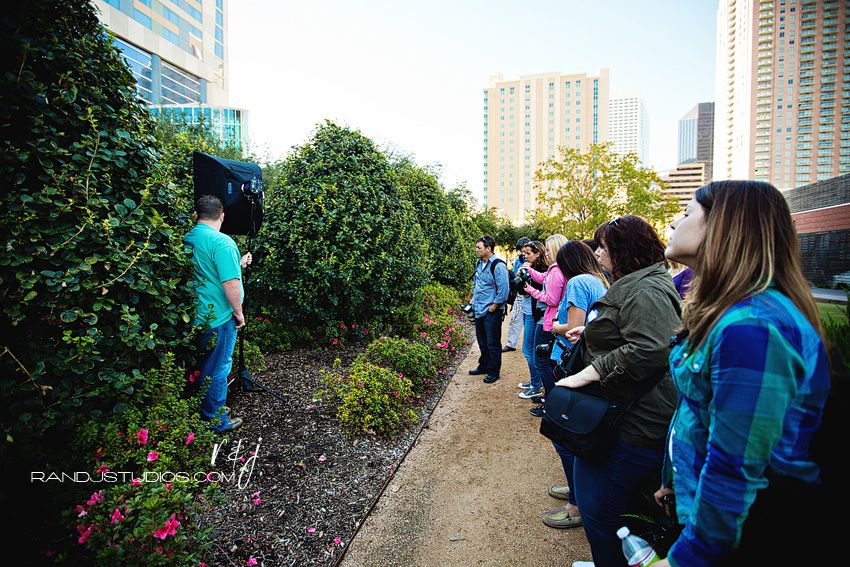
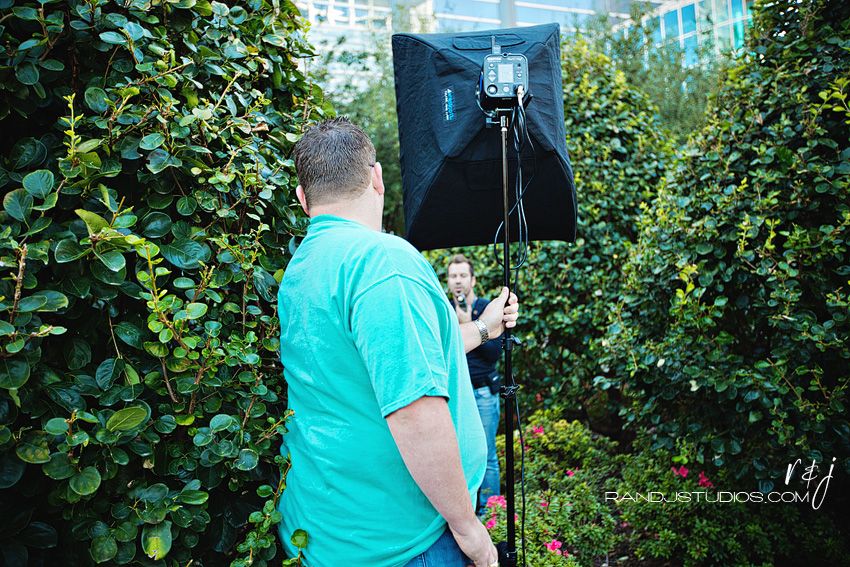
Split into groups, it was our turn! Dennis is setting up his shot.
Natural light below.
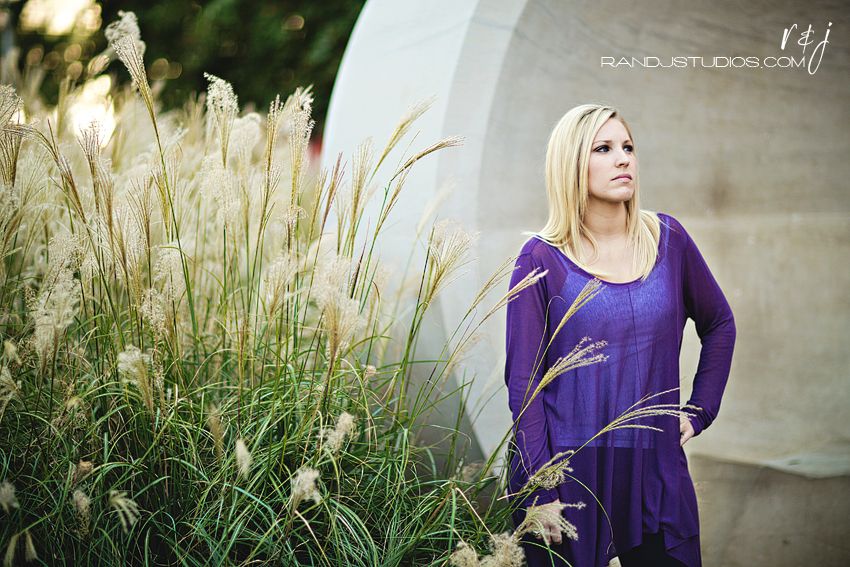
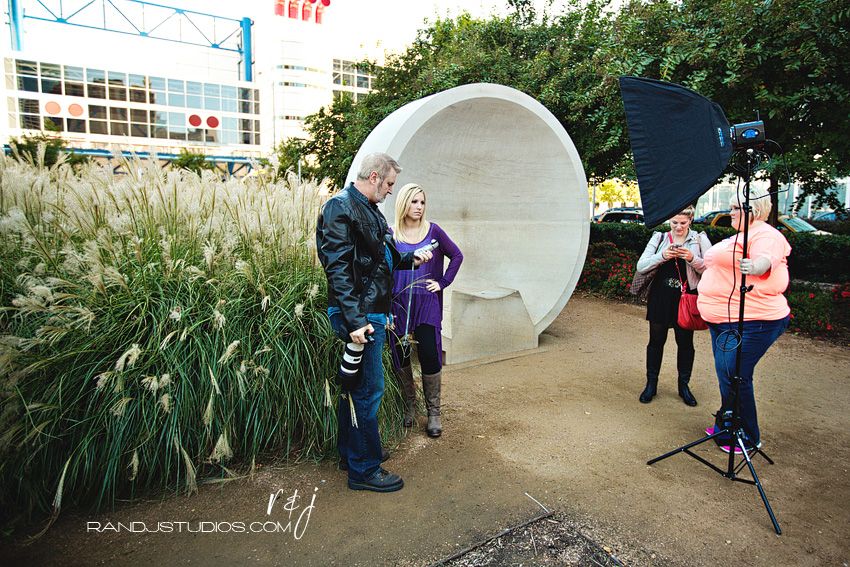
My shot with the light on the bottom left. Bottom right image you'll see the setup for if you keep reading ;)
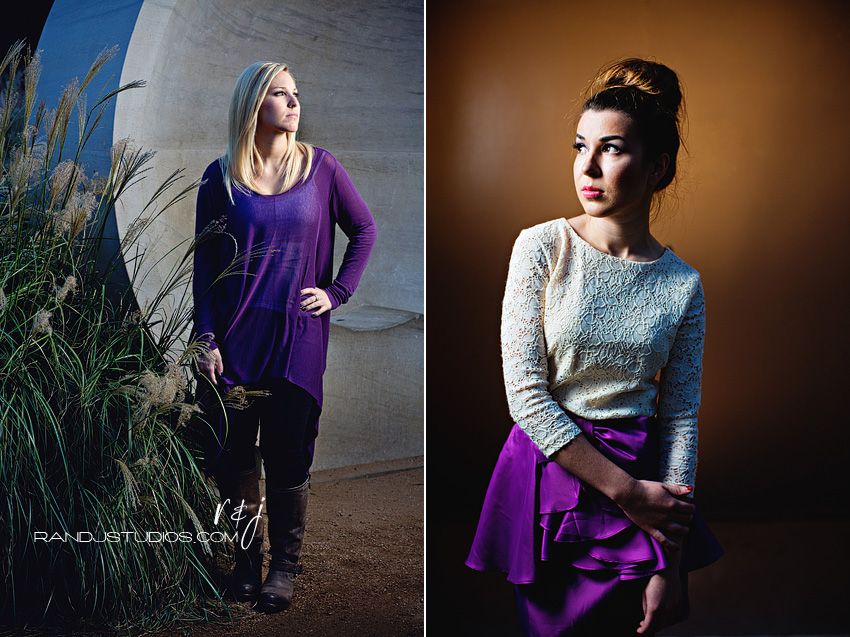
Below, natural light again
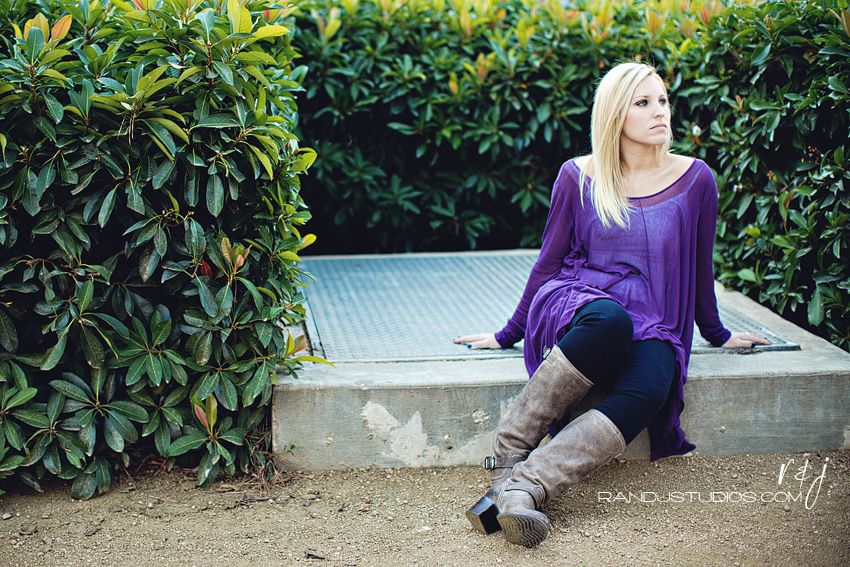
More natural light, and a different angle of the image at the very beginning of the post.
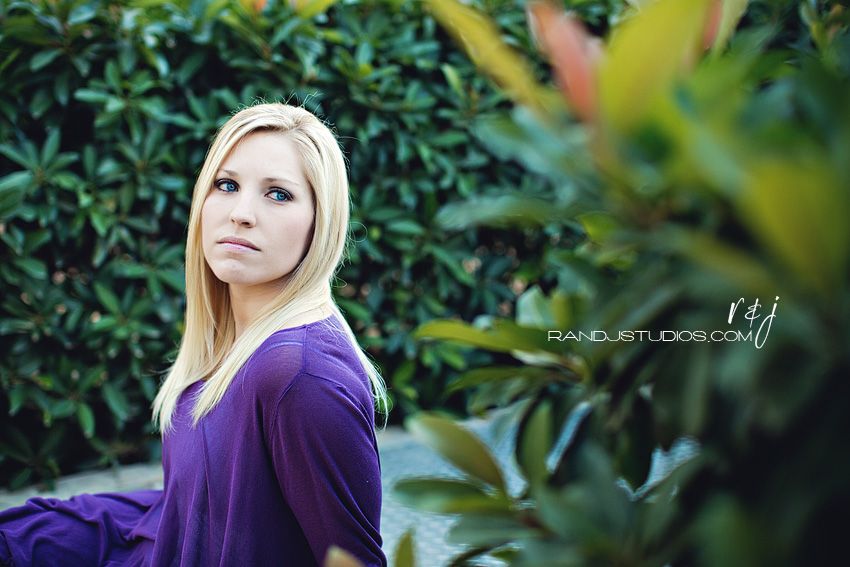
Waiting for the other group to finish so we could switch instructors/models.

This is what they were shooting...mine is natural light. I know Zach instagrammed his final image already at @ZachGray if you want to see it!

Our turn!

Light on the left, natural light on the right. I love them both!
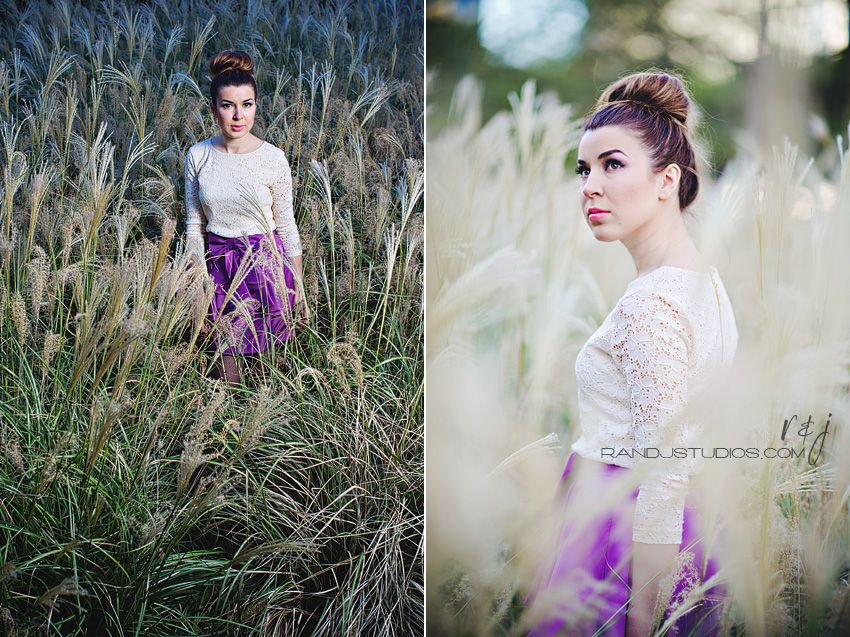
Zach giving the model instructions - both images below are naturally lit.
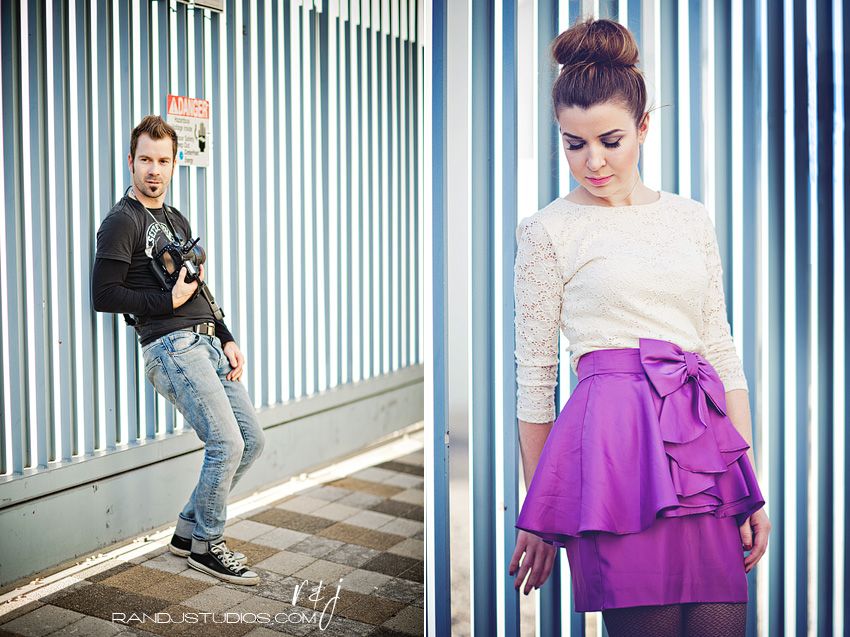
Ka-bam! Lighting!
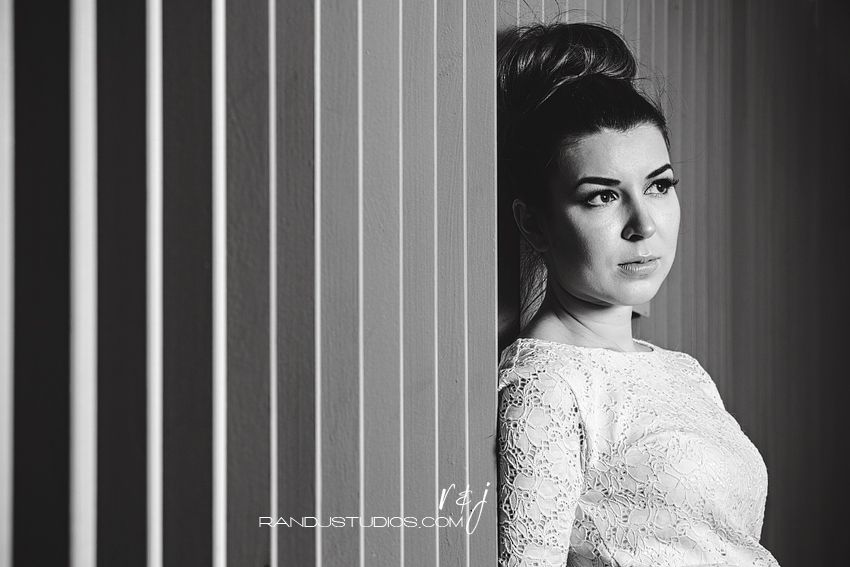
Image below left is same as above. Image below right is in full sun w/ lighting!
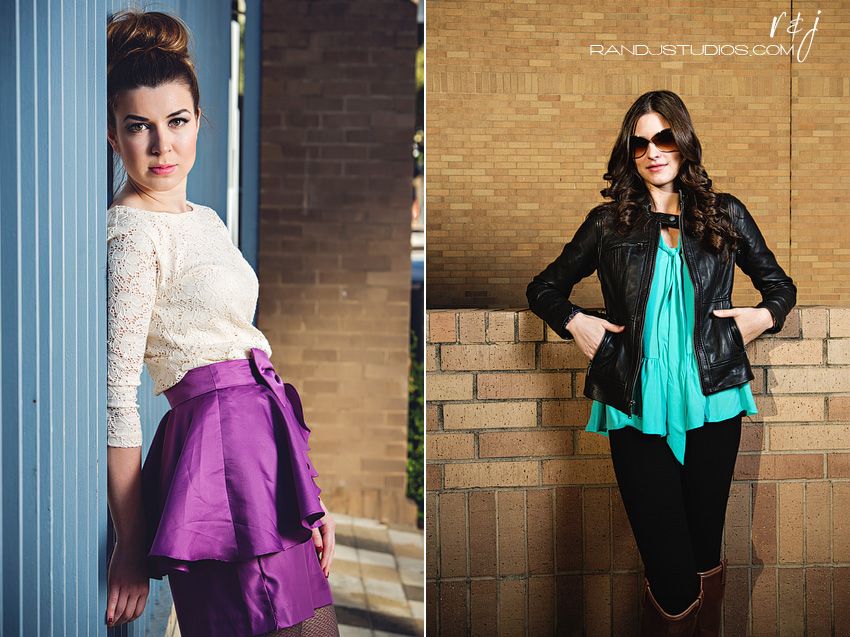
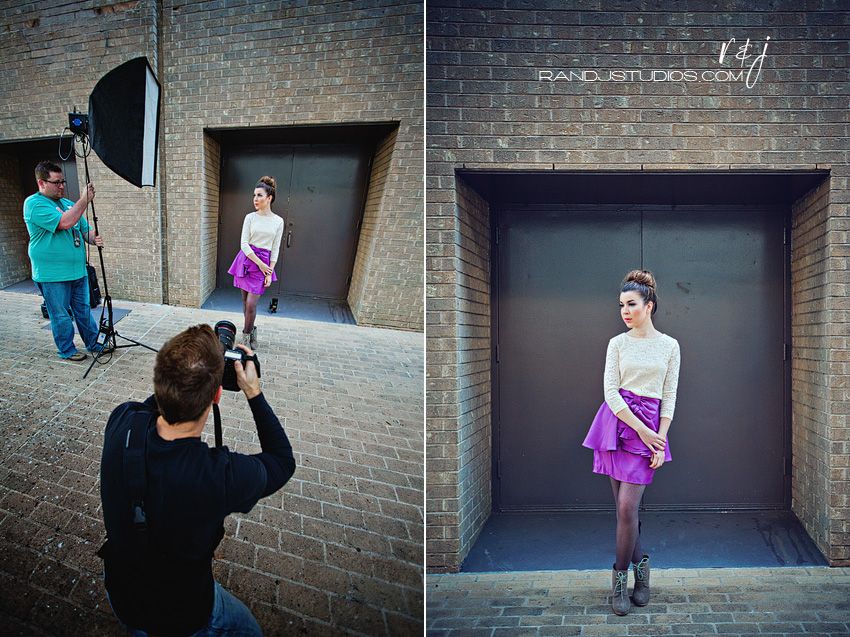
Setup shot!
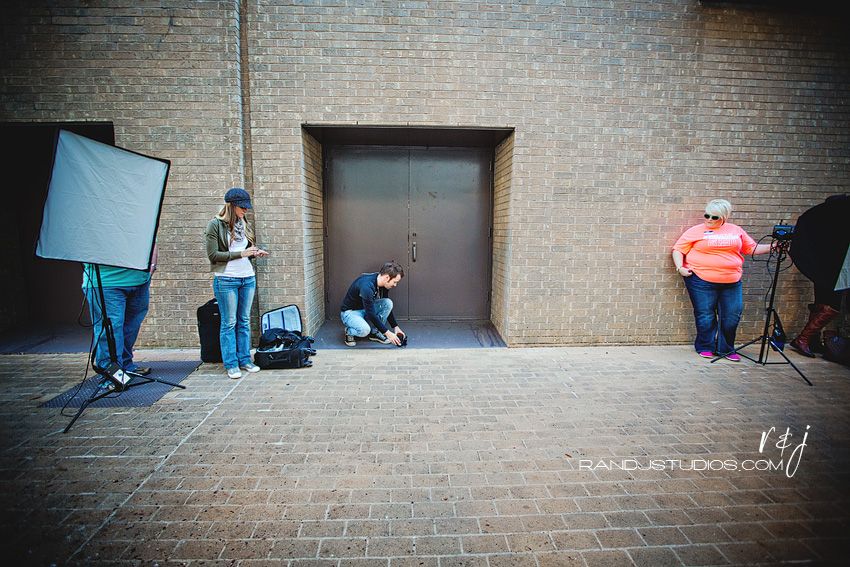
Below left - Zach getting his shot. Below right - natural light.
Drama! Lighting! (see colored photo above for another example...so pretty)
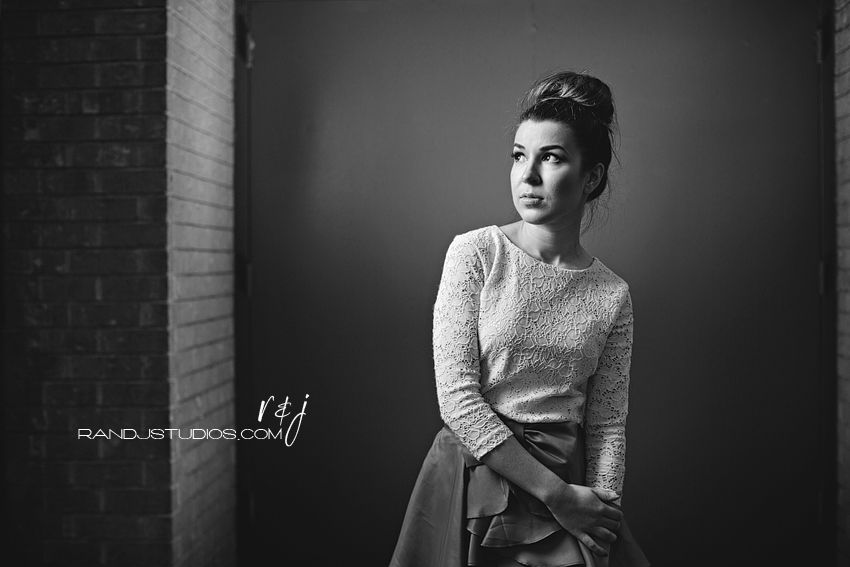
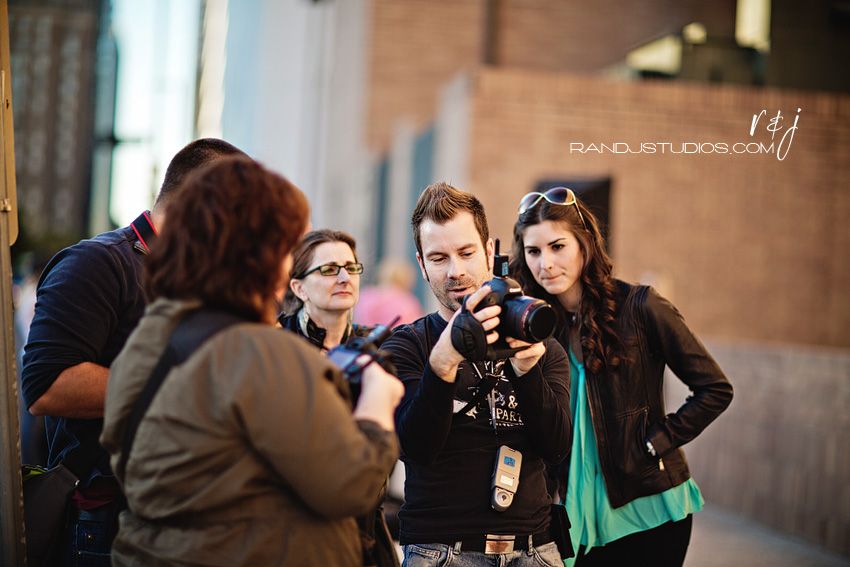
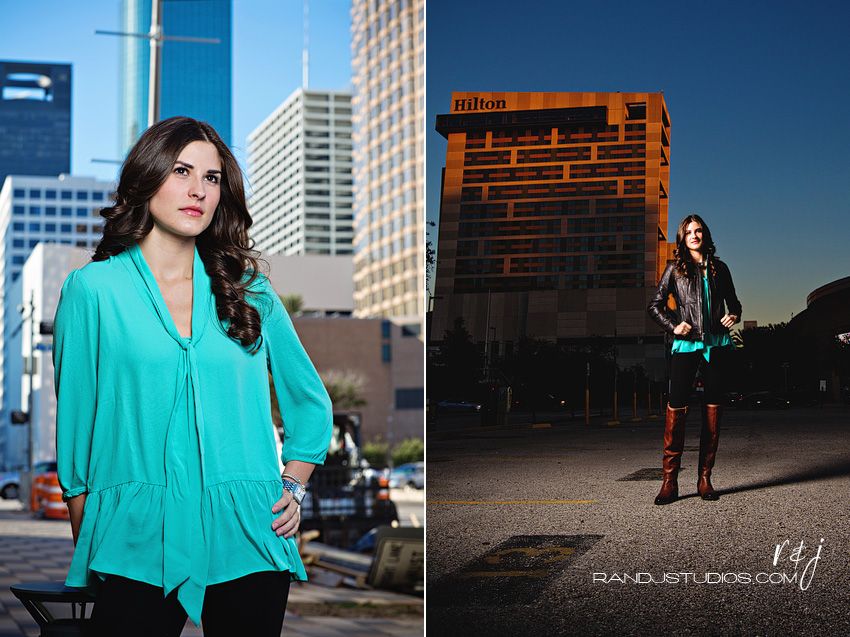
Image below is the setup for top right photo.
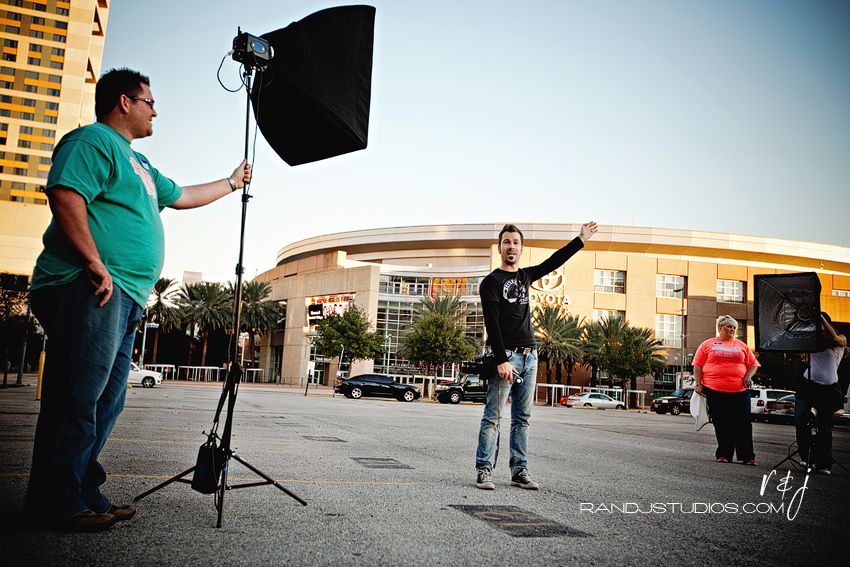
All in all, I can't wait to put some of my own lighting equipment to use soon!

I learned two things real quick: I like more dramatic lighting shots. And I still like my natural lit images just fine. But my goodness I had no idea I could get such dramatic images with just one light, in a matter of seconds.
The workshop itself went a little something like this:
Intros, classroom instruction (which if you've seen them on creativelive, you likely already had heard), lunch at 2PM (luckily they provided tons of snacks), shoot time, dinner, reception lighting. And when I say shoot time. I mean we shot and we shot and we shot, and we walked and we walked and we walked. I've read reviews on other workshops that seemed cluttered, and I really feel like the shoot time was run very efficiently. Two groups of 6 or so, every single person got to set up a shot, AND shoot what everyone else set up. We were encouraged to change our settings between shots of the same subject to see how it effected our original photo, check our histograms, and study other's shots as well. If you're on instagram, check out the hashtag #incamera to see some behind the scenes images from everyone!
Below, the image on the left used one light, and the image on the right was with all natural light (no reflector). It's hard to determine which one I prefer!
(if viewing on the main page, click read more to see behind the scenes and more lighted & natural shots, and read details about each one!)
Zach setting up the first shot of the day to give us an example of what we'd be doing all day. Be sure to check Zach & Jody's blog to see when he posts his final images (as we didnt shoot those).


Split into groups, it was our turn! Dennis is setting up his shot.

Natural light below.

My shot with the light on the bottom left. Bottom right image you'll see the setup for if you keep reading ;)

Below, natural light again

More natural light, and a different angle of the image at the very beginning of the post.

Waiting for the other group to finish so we could switch instructors/models.

This is what they were shooting...mine is natural light. I know Zach instagrammed his final image already at @ZachGray if you want to see it!

Our turn!

Light on the left, natural light on the right. I love them both!

Zach giving the model instructions - both images below are naturally lit.

Ka-bam! Lighting!

Image below left is same as above. Image below right is in full sun w/ lighting!

Setup shot!

Below left - Zach getting his shot. Below right - natural light.

Drama! Lighting! (see colored photo above for another example...so pretty)


Image below is the setup for top right photo.

All in all, I can't wait to put some of my own lighting equipment to use soon!


Love it!
ReplyDelete